
News
Contact UsHow to Measure for a Barn Door Before Ordering
-
 author
- 26 October 2026
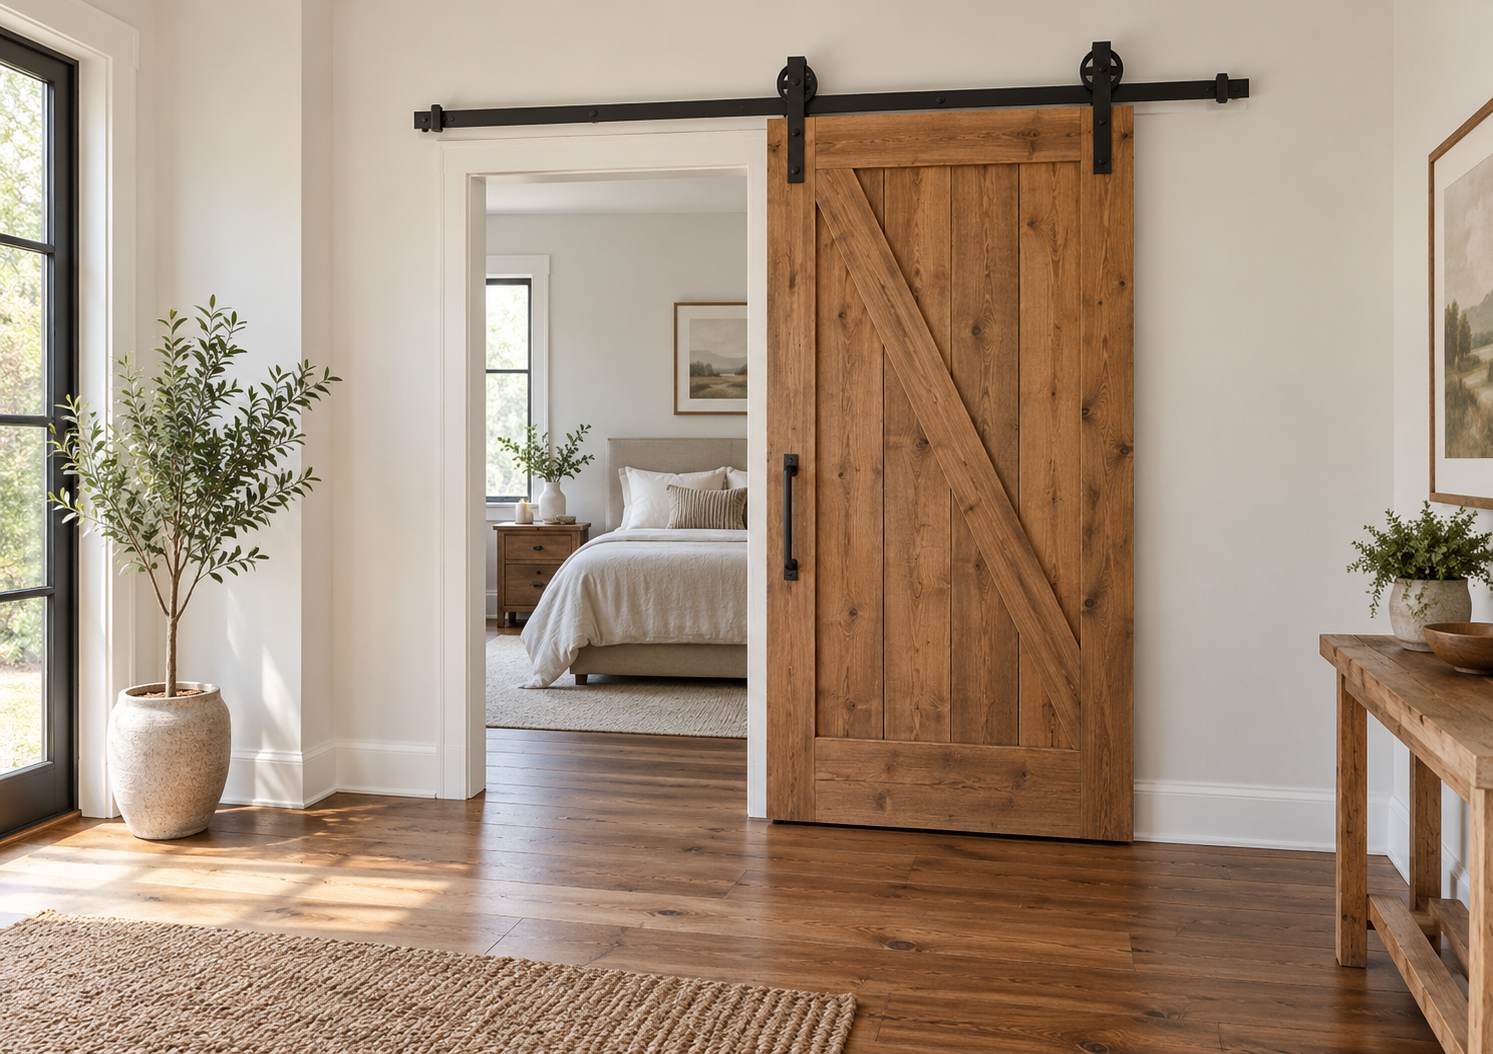
The door covers the opening. Good. Now slide it open on the drawing. If its edge reaches a corner before the passage is clear, the opening measurements were never the whole problem. The same is true of a handle that catches the trim or a floor that rises along the sliding path.
That is where to start when learning how to measure for a barn door: with its two positions, not a catalogue size. Take a survey of the finished opening, agree what the closed leaf should cover, and find where the open leaf can go.
Establish the Finished Opening and Measurement Datum
Measure the Cased or Uncased Opening
From the intended track side, sketch the doorway and add a sliding-direction arrow. Measure across the top, middle and bottom, then take a height at each jamb. Write all five readings on the sketch.
Casing is the next decision. Will it remain, and is the door supposed to hide it? If so, measure its outer width and top edge as well. For an uncased opening, use the finished edges instead.
Label the two widths separately on the sketch: clear opening and outside of casing. Then mark which one defines the area you want the closed leaf to cover. Keep that choice visible when applying the selected kit’s allowances.
Record Finished Floor Level and the Highest Point
Write “finished” or “unfinished” beside the floor reading. If unfinished, record the remaining build-up. Tile adhesive or underlay counts just as much as the surface finish: all of it occupies space that might otherwise be the gap beneath the door. The height remains provisional until that is resolved.
Next, check the parking side. It is easy to survey between the jambs and forget the floor beside them. Find the highest point over the full route and mark its location. Take heights from a consistent level reference, rather than starting each measurement from whichever patch of floor is closest.
Calculate Door Width and Height from the Required Coverage
Separate Opening Width from Door Overlap
Write the width sum out in full: coverage + left overlap + right overlap. If “coverage” already runs from the outer edge of one casing to the other, the trim is in that number. It doesn’t need a second allowance.
Before adding a generous overlap, draw it. The extra width has to fit against the parking wall too. It may improve the side sightline, depending on the stand-off from the wall, but it won’t turn this surface-mounted arrangement into a sealed hinged door. Agree the appearance and coverage together.
Avoid the label “door width” on its own. Does it mean the barn door opening or the panel to be made? Put those in different columns.
Reconcile Top Coverage with Bottom Clearance
The height sum works much the same way, with one minus sign. From the finished floor, measure to the top of the coverage area. Add the agreed overlap above it. Subtract the gap you need beneath the leaf.
Don’t use that answer as the rail height. A hanger sits between rail and door, and its geometry belongs to the selected kit. Put the leaf’s top and bottom on an elevation, then add the hanger and rail. Now the drawing explains the drilling positions instead of leaving somebody to infer them.
Suppose somebody proposes lifting the rail to clear a high floor point. Follow the leaf upwards on the elevation: its upper and lower coverage also change. Check those edges again. And if two surveyors disagree about a height, compare their floor datum before assuming either reading is wrong.
Check the Full Travel Envelope Before Choosing a Track
Wall Parking Space and Clear Passage
For parking, sketch the leaf at the other end of its travel without erasing the closed outline. If the open outline hits a wall return, you have found a problem before buying anything. Measure the passage left beside it; the nominal opening width may promise more room than this layout provides.
A bare-looking wall isn’t necessarily clear. Start low, at the skirting, then look higher for a radiator or a handle on an adjoining door. Keep the proposed pull on the sketch.
Would the open leaf hide a light switch? That can be inconvenient even when nothing touches. Try the intended use as well as the geometry on the plan. If the parking wall is too short, stop and agree the necessary clear entrance; a smaller leaf may solve parking while failing coverage.
Headroom, Trim Projection, Handles and Stops
Above the leaf, the ceiling or cornice sets another limit. Measure to it from the proposed door top. The piece to fit into that space is the complete hardware assembly, including rollers and anti-jump parts—not just the slim line representing the rail. Leave the fitting access in the check too.

Then turn the measurement outwards from the wall. Compare the casing and skirting projections with the specified stand-off behind the leaf. Remember a rear handle, if fitted. A flush pull may change the clearance question, but first check that its recess suits the construction of the door.
A quotation may list barn door track length, but ask for the travel drawing too. Where do the stops sit? How far apart are the hangers, and is there a soft-close device? These details determine whether the leaf reaches the closed and open positions you have drawn.
Turn Site Measurements into a Door and Hardware Schedule
A Worked Measurement Example with Stated Assumptions
Suppose an uncased opening measures 900 mm across and 2100 mm from finished floor to top. For this example, assume 40 mm side overlaps, 30 mm top overlap and 10 mm bottom clearance. These numbers illustrate the arithmetic; they are not Metek specifications or installation allowances to adopt without checking.
| Schedule item | Proposed dimension | Calculation or source |
| Finished opening | 900 × 2100 mm | Site readings |
| Leaf width | 980 mm | 900 + 40 + 40 |
| Leaf height | 2120 mm | 2100 + 30 − 10 |
| Leaf top above floor | 2130 mm | 2120 + 10 |
| Rail and hanger positions | To be confirmed | Hardware drawing |
| Open-position clearance | To be confirmed | Plan and stops |
We now have a proposed barn door size of 980 × 2120 mm, with its top at 2130 mm. We still do not have a rail fixing height or proof that the door parks clear. The two unfinished rows are a reminder to check the actual hardware and the wall beside the opening.
If an overlap changes during that check, update the calculation and the outline together. An old sketch beside a new dimension gives the next person conflicting instructions.
What to Send for a Metek Drawing Review
Keep one opening identifier across the plan, survey and photographs. Under it, collect the casing and opening readings, floor status, side space, headroom and direction of travel. Add what you intend to order: leaf material and thickness, handles and quantity. A supplier can’t choose hardware from opening dimensions alone.
Metek offers barn door sliding systems and lists space planning, product drawings and OEM/ODM support among its pre-sales services. Send your opening measurements for a door and hardware drawing review. Make it obvious which values were measured and which remain proposed allowances.
Two photographs do different jobs. The close view records a reading; the wide view shows the opening, parking wall and ceiling around it. Send both where practical. For several similar rooms, retain the individual records. Calling one opening “typical” doesn’t establish that the others finished at the same size.
Keep units consistent. If an opening changes, date the new reading against its identifier.
Resolve the Measurements That Commonly Change an Order
Before signing off, ask what has changed since the survey. Perhaps the floor finish, casing or skirting now has a different specification. Somebody needs to confirm the completed surfaces, and the order needs to identify the confirmed survey revision. Otherwise the dimensions can be accurate for a room that no longer exists on the drawing.
There is one thing a tape measure won’t establish: support behind the wall surface. Record the substrate and planned reinforcement for coordination at the fixings. Enough length for the rail doesn’t prove that those fixing locations are suitable.
Two leaves need two sets of positions, including their meeting overlap. Do not double a single-door calculation and assume the arrangement is resolved. Before issuing the schedule, pick out each order dimension and find its source: a site reading, an allowance, or the hardware drawing. If you cannot find one, leave it as a question.
FAQ
Q1: What size barn door fits a 36-inch opening?
A1: You can’t choose the leaf from that number alone. Find out whether 36 inches is the passage or the full area to be covered, including any casing. Add the agreed overlaps, then draw that leaf parked beside the opening. Both positions have to fit.
Q2: Should I measure before or after the floor is finished?
A2: For the final height, afterwards. An earlier measurement is useful for planning, provided the remaining floor build-up is written down. Before releasing the order, revisit the finished level and the highest point along the whole sliding route.
Q3: Do sliding barn doors need a bottom track?
A3: Many top-hung kits use a small guide on the floor. It keeps sideways movement under control; the upper hardware carries the door. Check the kit detail before preparing the leaf or floor, because the guide may require a groove or a fixing.





Our Products
Our Products

our testimonials
What They Say About Us

"We trust Metek, have always had a very good relationship with each of you folks;
Metek is reliable, not only as business partner, but also friends.
You can tackle issues; you can go on and move on.
And that’s what’s we did—together with all Metek!"

"Metek is 10 years old, and we have been working with Metek for more than 8 years.
We still welcome progressing and achieve more than what we did last year.
And it is big achievement, which was done at Metek last ten years.
In the next decade, we will keep going and develop the Australian market together."

"To all Metek members
We now work six years together,we still grow together with Metek, with one of our best suppliers in China.
Why are you one of the best?
It’s because you help us to create our market; you help us to create new products; and you help us to get the right quality; you help us to wonder our issues.
You know, you are all very good educators; you understand our language; you understand us as customer.
And I think that makes the partnership show you are together.
And I hope for the next years, we can still work together, and move on together into your future creative, beautiful products."